Hello everyone! I hope that you have all been fantastic over the past few weeks. Sorry about being awol for so long, but Matt and I were in Florence for a week for his work's annual meeting and then I have been going 150% at my job since getting back with a big project that has a tight deadline. However, I had to share with you the exciting progress happening at the house. The two biggest things are that we now have drywall and exterior doors! Holla!!!! So let's take a tour of the casa to see how she looks with walls and doors shall we?
First I have to show you the super cool La Cantina door that we added that I first talked about here. This door separates the living room from the back of the house and looks like a wall of french doors.

However, with the flick of a few locks and tiny bit of pushing....the doors completely fold-up to bring the outside in. Can I getta "TAH-DAD"?!?!?!

I am here to tell you that these bad boys are AWESOME!!! I love them because they literally double the size of the our living room when they are open. We are going to have some serious entertaining happening with these guys during the 8 months out of the year that we have good weather in Houston. Here is a video of them in action. My commentary does not do justice my super cool happy dance that was happening behind the camera.
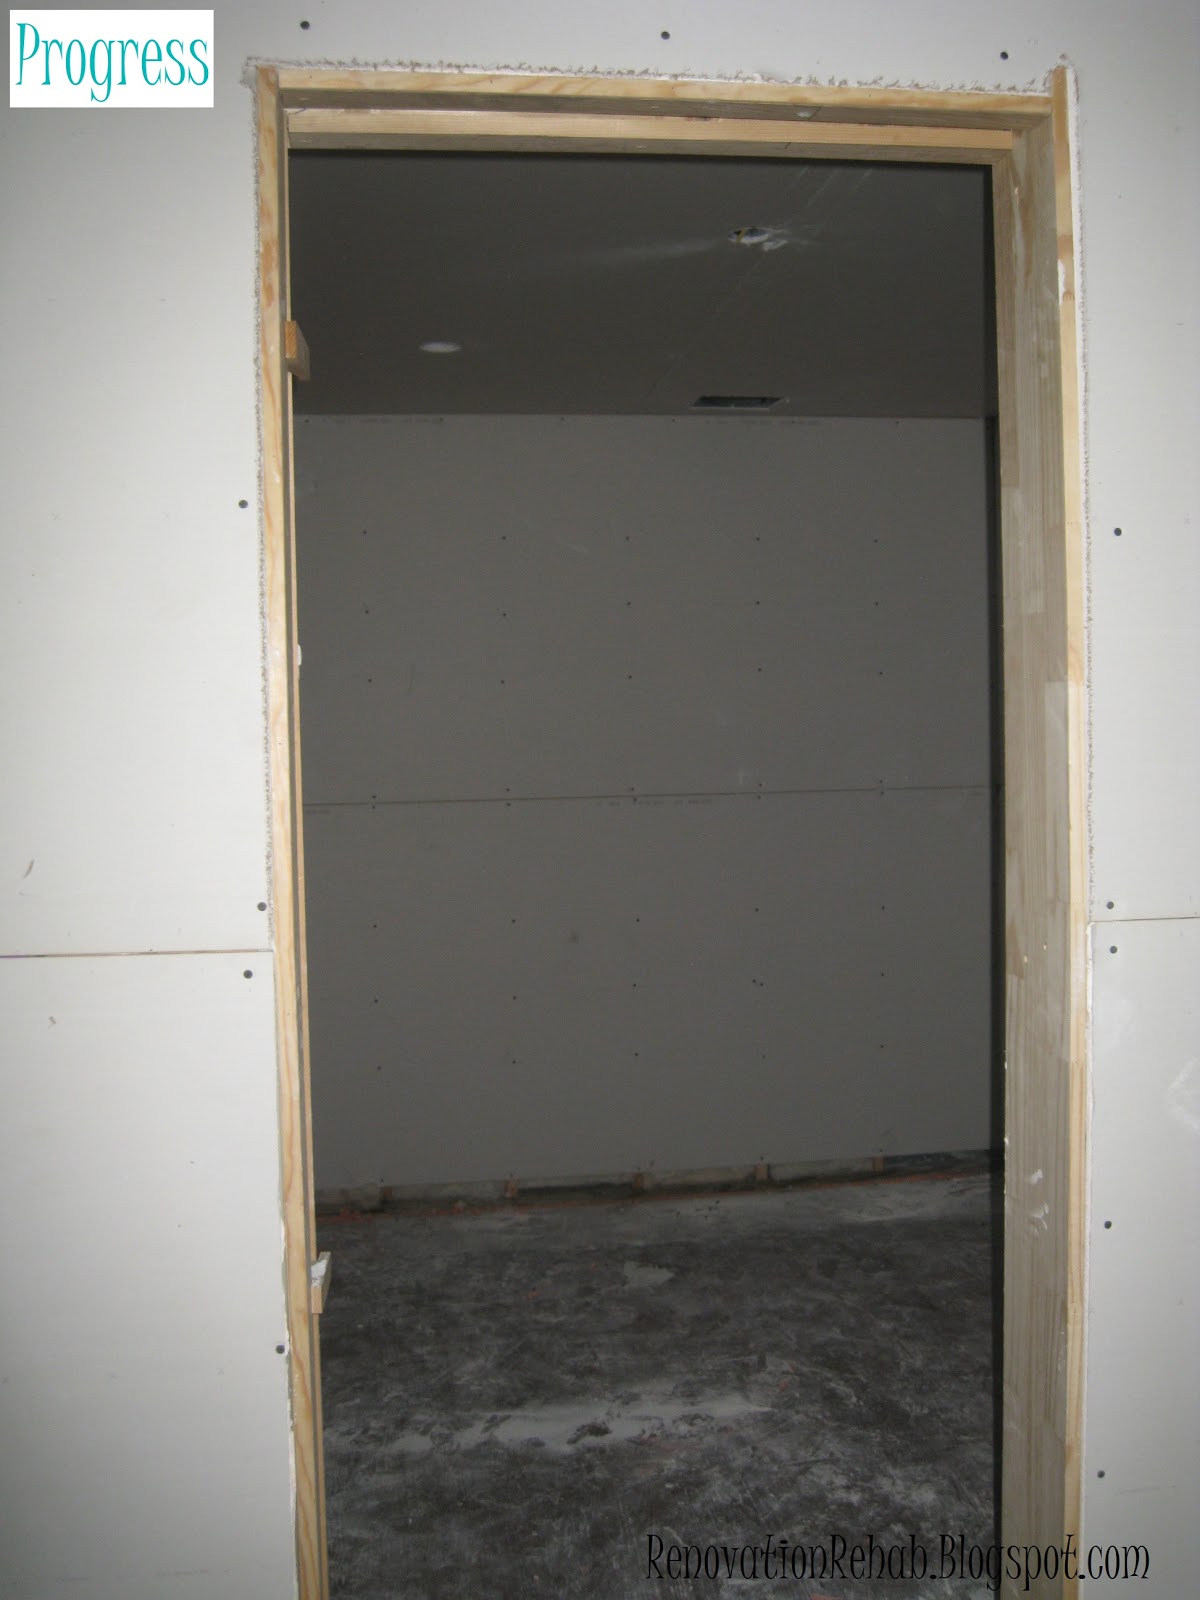
So now that you have seen the doors in action, I want to take you on a tour of the house with drywall. Here is the floor plan of the downstairs, so that you can see the placement of the rooms.

Here is the view into the living room from the back patio. The wine room is on the right under the stairs, the dining room is on the left of the door, and the entrance to the kitchen is in the left corner of the picture.

This is a view standing with my back to the wine room and looking towards the backyard. Please excuse the disastrous landscaping (or complete lack there of) because all that will be addressed once we get finished with the remodel.

This picture is taken from the middle of the living room so that you can see the dining room. It is crazy how much bigger everything looks in person once dry wall is up! I guess it is difficult to judge the size of a room when you only have the studs. You can also see our front door. It is all wrapped up for safe keeping...but when the plastic is gone, it is beautiful. As you can see, it is a similar style to a lot of the door I liked here. I love all the natural light that the windows and sidelights bring into the house. And it will be even brighter once the protective film is removed from the windows. Oh I can't wait!!!

This next picture shows our master bedroom. It was a little difficult to photograph with my Canon Elf, but at least you can get a general idea of the room's shape.

Now onto the master bathroom (A.K.A. Jenn's happy place). This is a view into the master bath from the master bedroom. Here you can see the closet is in the back and the walk-in shower on the right. The tub will live to the right of the shower and our vanities will live on the left wall opposite of the shower.

This is a picture of the inside of the master closet. You can't tell much from the photo, but it is 13' long by 10' wide. I will show you my master plan for the master closet in a later post.
Here is another view of the back wall of the master bathroom. As you can see, the shower will be on the left side of the wall and the claw foot tub will be on the right under the window. We have his and her shower heads and body sprays, along with a rain shower overhead. Matt gave me so much flack about having a "his-and-her" shower...but I think he will love it once it is all said and done.

Here is a close-up of the shower layout. Oh boy, oh boy, oh boy!!! This makes me giddy like a school girl!

This is a close-up of the wine room under the stairs. We are going to have wine shelves in the recessed space on the right and on the back wall. I will show all the details in a later post.

Now we are going to head upstairs. Here is the floor plan for the second floor so that you can get your bearings.

The first thing you see when you head up the stairs is the study. We will have built-in cabinets and a desk along the back wall.

Next we head into the revised game room. It's amazing how far it has come since we blew out the front wall. This is a view from the back corner of the room looking towards the study, which you can see through the door.

Here is another view of the game room from the front side of the house. We are going to add a built-in bar in the nook on the left. And through the door, you can see the entrance to the laundry room. I showed you some of my ideas for the laundry room here.

This is a view of the hallway leading to the back of the house. To my left is the study and to my right are the stairs, game room and laundry room. As you walk down the hall, the first door on the left is the entrance to the guest bathroom, the first door on the right is my wrapping room (which is not labeled in this picture), the second door on the right is Bedroom 3 (A.K.A. the "Blue Room"), and the final door in the middle is the entrance to the new bedroom above our master (Bedroom 4).

Here is a picture of Bedroom 4. It is directly above our master bedroom, so is basically identical.

When you turn around and leave Bedroom 4, you are back in the hall heading towards the study and Bedroom 2 (A.K.A. the "Teepee Room"). As you head down the hall, the first door to my left is the entrance to the Blue Room (which you can't see in this photo) and the second door to the left is my wrapping closet. I talked about my initial plans for the layout of the wrapping closet here and here. The first door on the right is the guest bathroom, followed by the study and the Teepee Room.

Here is a pitiful little picture of part of the guest bathroom. We will have two vanities on either side of the window and to the right are the shower and toilette. I need to invest in a super wide lens so that I can get better pictures for everyone!

After you exit the guest bathroom and enter the study facing the Teepee Room, this is the view you will see. To my left are the stairs and to my right is the study. Directly in front of me is the entrance to the Teepee Room. Two closets flank the entry into the Teepee Room.

Here is what the Teepee Room loooks like on the inside. It is a long (23') and narrow (11') room with an arched roof. This will likely become our kiddo's game room with all sorts of fun murals. It just feels like a place you want to play when you go in. I also added built-in storage into the eaves...cause hey, if there is a possible open space, I will use it! Our builder makes so much fun of me for that - but trust me, we will love all the additional storage at some point down the road, I just know it! We will have doors on the front of the opening that will look like wainscoting so they won't be so obtrusive.

So that finishes up the tour of the casa with dry wall. Also, thank you so much for stopping by, I hope that you liked seeing the progress! Have a wonderful day!!!

No comments:
Post a Comment