Thursday, February 14, 2013

American Heros

So this post has nothing to do with DIY or our home renovation; however, it's really cool experience that Matt had at the "GE University" this week that I wanted to share with you guys.  Specifically, Matt had the opportunity to attend a presentation by John Jonas, Deputy Chief 7th Division NYFD, Former Captain of Ladder 6, NYFD, who was a first responder at the World Trade Center on September 11th.  Reading Matt's story reminds me how much I appreicate all the amazing men and women who put themselves at risk everyday to protect us - be it the police, fire department, or military - and I just wanted to say thank you!  So here is Matt's story:


I had the privilege to hear a speech from John Jonas, Deputy Chief 7th Division NYFD, Former Captain of Ladder 6, NYFD. He and his team entered the North Tower of the World Trade Center on September 11th, 2001 on a search and rescue mission. They began ascending stairway B, the center most stairwell. After the South Tower collapsed, the order was given to cease ascending and to evacuate, they were on the 27th floor. They were descending the stairs, knowing that time was of the essence, when they found Josephine Harris, a 59 year old lady who had descended from the 73rd floor and could no longer proceed. She insisted that they go on without her but they stopped and assisted her down anyway at a much reduced rate of speed. Now on the fourth floor, the North Tower collapsed. They were trapped. After four long hours, the Ladder 6 team and Josephine all managed to escape the burning pile of steel under the guidance of John Jonas. He entered the Tower with 6 people and left with 7. He was the last one out. People say his leadership saved the lives of his team and Josephine Harris. He says, he and his team were saved by Josephine Harris. They were in the only place they could have been to have survived. Had they not slowed down to save Josephine, had they moved a little more quickly, they would have likely been crushed on a lower floor. A few years ago Josephine past away. She had no family to claim her at the morgue and was destined to be sent away without ceremony. John Jonas would not allow this. He rallied support and was able to provide her with a proper funeral which was attended by over 100 NYFD members and Mayor Giuliani. He and Ladder 6 served as pallbearers. It is an amazing story and he is a true hero. This is the coat that John Jonas was wearing on September 11th, 2001.
 

Wow...I just think that is an amazing story and it gives me chills everytime I read it.  Thank you for stopping by today.  I hope you have a wonderful weekend.  And if you have an opportunity, try to thank those who protect us and keep us safe.

Monday, February 11, 2013

Master Plan for the Master Closet

Happy Monday everyone!  I wanted to kick off the week with a quick post to show y'all my master plan for our master closet that I promised last week during the dry wall update.  When Matt and I purchased our home, we knew that closet space was going to be an issue.  As I previously told y'all, our house was built in 1967 by Rose and Ben Green for their family of seven (including five daughters).  If you have ever lived in a home that was built in the 1960s, you know that closet space is typically VERY limited and comes at a premium.  The Greens, however, were ahead of their time and built large closets in each of the rooms upstairs...which I am sure was to accommodate all the fun belongings that come with five beautiful girls.  Although there was great storage upstairs, the master bedroom only had a small reach-in closet that you can see outlined in red on the "before" floor plan below:
 
Matt's Closet
Well, as I have previously mentioned, I have a tiny problem with throwing away/giving away/selling anything...and this issue extends to my clothes.  Basically, my closet is full of Ghosts of Clothing Pasts with suits, dresses, pants, skirts and blazers ranging from a size 0 to a size 10. And don't even get me started on the jeans...I probably have 20 pairs of jeans ranging from a size 26 to a size 30.  My weight fluctuates quite a bit (which I need to work on) so I hate to get rid of nice clothes just because I fail to workout for a few months due to life.  However, I fully understand that I need to accept the fact that I will never wear my size 0/2 clothes from five years ago (but danged if I am not going to try). So as you can imagine, this little guy did not cut it and turned into Matt's closet and I took over all of the closets upstairs along with the downstairs coat closet under the stairs (I wasn't lying when I said I had a problem).
 
Jennifer's Closets
This arrangement did not work at all and was not conducive to a happy marriage for many reasons (to which I have to say, thank you for your patience Matt!!!). First, it was a pain to have to go upstairs every morning to get ready.  Second, it was incredibly difficult to go from closet to closet to closet to figure out what I wanted to wear each day.  Third, I had taken over all of the closets in the house, so that left very little room for other storage and ultimately lead to a build-up of clutter around the house. However, since one of the major goals of this remodel is to work on my organizational and "hoarding" issues, I knew that the closet problem was on the top of list of things to be addressed. So what do they say, the first step to fixing a problem is admitting that you have one?  Well okay then, I'll admit it, "My name is Jennifer and I am clothes hoarder." Here is my checklist on how to fix this:
 
Closet De-Hoarding Checklist
1. Design a well laid-out master closet
2. Take stock of my clothes and determine what fits me now
3. Get rid of/donate any clothes that do not fit, are damaged, or that I don't love
4. Fill the master closet with the remaining clothes in an organized fashion
 
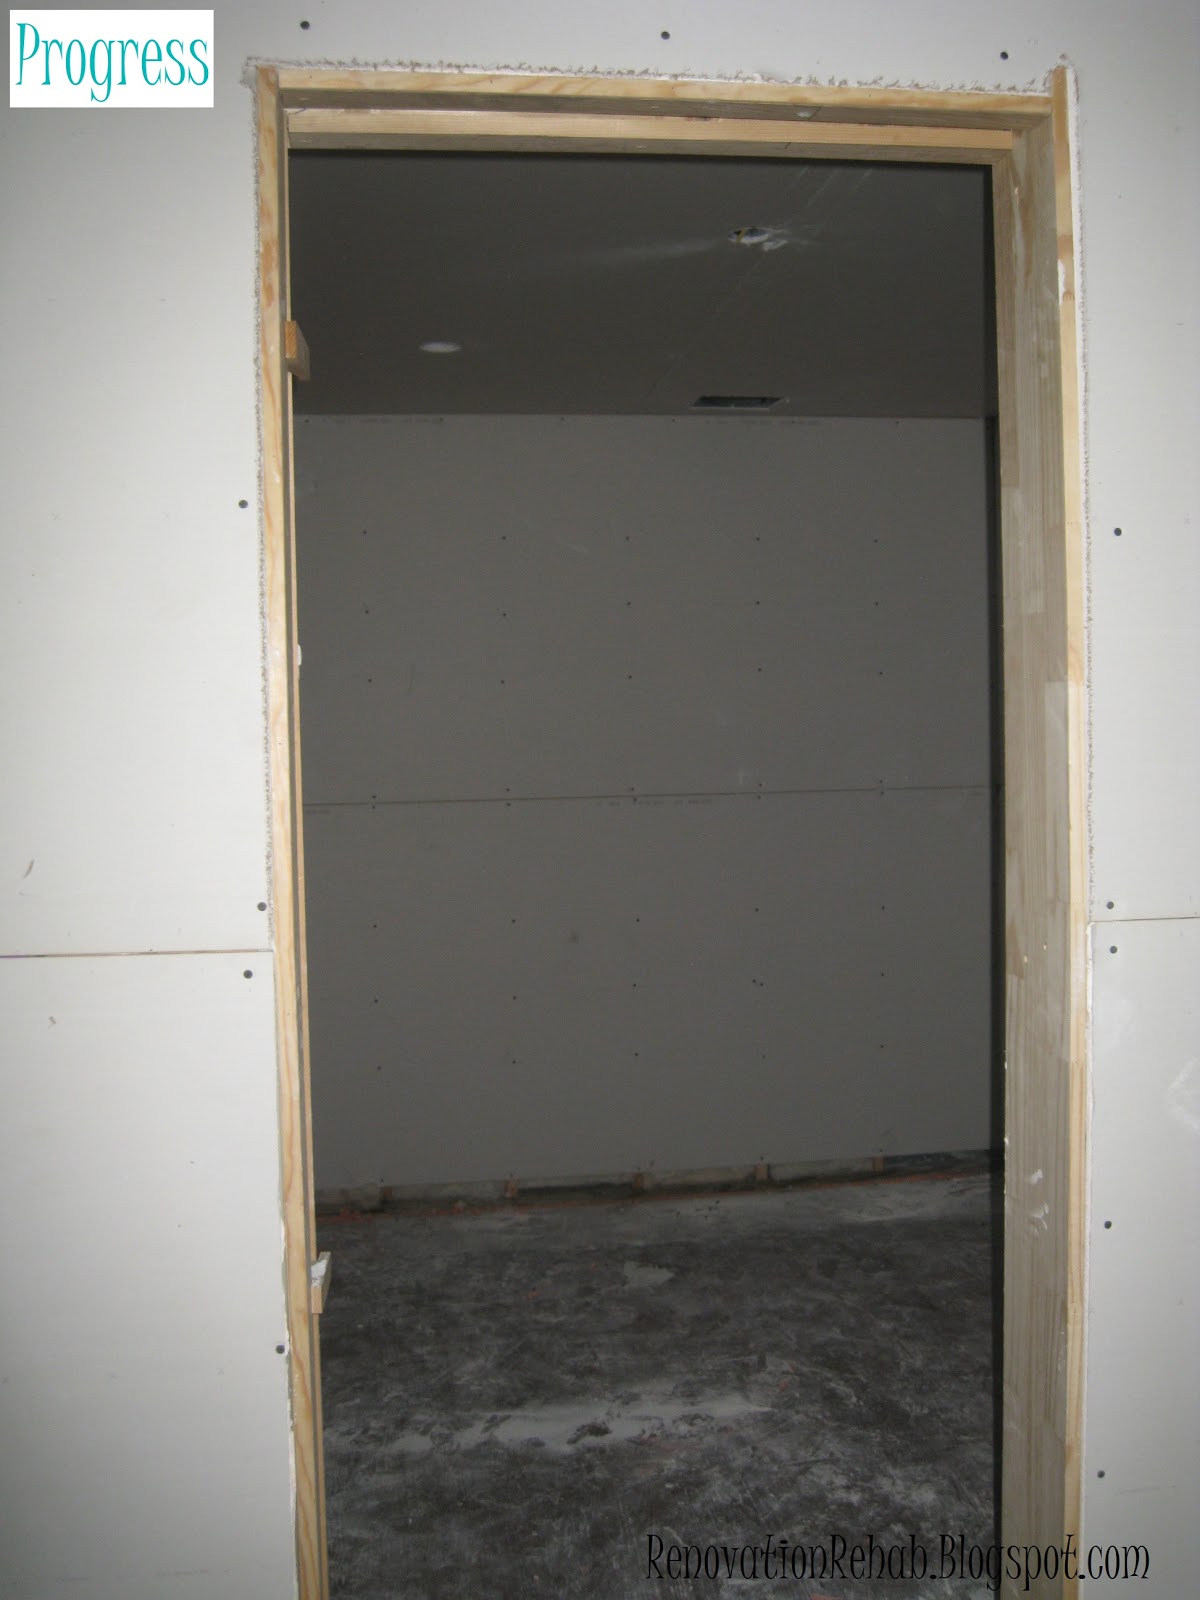
So that brings us to Step #1 - Design a well laid-out master closet.  You will notice that I said "a master closet" and not "master closets."  This is because having a single master closet worked much better than "his and her" closets for our space.  I'm not going to lie, the idea of sharing a closet took A LOT of convincing to get Matt on board.  Matt is generally pretty organized, and the thought of sharing a closet with me with my piles of clothes made him extremely apprehensive.  However, we have shared a tiny closet in our apartment since September and it has worked out okay (mind you, I only have about 1/8th of my clothes at the apartment and the rest are in storage...which should really tell me something since they have been in storage for five months now and I have missed any of it). I think this has worked because it makes me accountable. I know that if I throw clothes on the ground when trying to pick-out an outfit in the morning instead of hanging up what doesn't work, it will bother Matt because the mess is in a shared space. He has ultimately agreed to the single closet layout (although hesitantly) and I really appreciate it!  So now onto the fun part, the layout that I have come up with for our master closet. Our new closet space is a large walk-in closet (approximately 12' long by 10' wide) and you can see it highlighted below in yellow:
 
 
When looking at pictures on the internet, the closets that I am typically drawn to are the light, bright, white closets that look super organized.  For example, Megan from Honey We're Home has an AMAZING home and her closet is no exception!  If you haven't been by Megan's blog before, you must stop by.  Her home is stunning!

Here

Here
Um, can you say drool worthy!!! I absolutely love the white wood work, the island and the fabulous chandelier. The closet is so organized, clutter-free, and bright, that I think it would be incredibly calming space to get ready in every day.  So using Megan's closet as my inspirational launching pad, I came up with this layout for our master closet:

Master Closet Layout
As you can see, I split the hanging space between the two outside walls of the closet.  I chose this layout because it helps limit the lost hanging space in the closet corners that you get when you have closet rods running perpendicular to each other.  I also added the red squares to show how far the clothes will stick-out from the wall (because closet rods/shelves are usually 12" deep, but your clothes need 24" of space).  However, I am considering building out the "hanging boxes" so that they completely surround the clothes, like the closet in this picture below.  I like this because, to me, it gives cleaner lines.

Here

I also adore the island in this closet.  Although it is narrow, it gives lots of storage space.  And the bench at the end is a great idea so that you can have a place to sit to put on/take off your shoes.  Here is another view of this beauty:
 
Here
Accordingly, I have included an island in the center of our closet.  The island will be 48" long, with doors/cabinets on both sides. One side will house 4 hampers (two for Matt and two for me) and shelves, and the other side will house shelves for all my t-shirts and gym clothes that I typically fold.  I love the idea of having the hampers hidden in the island so that you don't have to look at your dirty laundry.  I have also added a built-in bench at the end of the island.  Here is the layout for the inside of the cabinet on either side of the island:


And here is a picture of the hampers that I would like to put in the island:
 
Here
These hampers are great, because they are fairly narrow (14" deep, by 24" wide), fully extend out from under the cabinets, and have handles so that they are easy to remove and carry to the laundry room.  Matt and I will each have two hampers to use as we need.  The next item that I tackled was drawer space.  Although we will have a dresser in our master bedroom, Matt wants all of his clothing items in the closet.  So I have added a built-in dresser on the back wall of the closet that will be 42" tall and will have ten 18" wide drawers (6 drawers that are 3" tall and 4 drawers that are 5" tall).  The built-in dresser will have nine 12"x12" cubbies above it for all of our folded sweaters and will be flanked by shelves for shoe storage.  One side will be 20" wide for Matt's shoes and boots (this will fit two pairs of Matt's shoes/boots on each shelf), and the other side will be 16" wide (this will fit two pairs of my flats and boots on each shelf).  I will also have additional shoe storage to the left of the closet door which will hold all of my heels. So here is my design for the built-in dresser, cubbies, and shoe storage on the back wall of the closet:
 
 
This picture shows what I am envisioning for the sweater storage...cubbies filled with color coordinated folded sweaters:

Here


Seriously, the color-coded rainbow of sweaters makes me smile.  And here are a couple of pictures of what I envision for my boots, flats and heel storage:

Here

Here
I love this shoe storage because it is simple, has clean lines, and makes it very easy to see all of your shoes. I also love how both closets have the boots hanging to help keep their shape. Now if only I can fill my closet with some beautiful shoes like those...yummy!!!  The final component of the closet are the two shallow accessory closets on the back left-hand side of the closet.  Not surprising, but I have a lot of costume jewelry and accessories (scarves, belts, gloves, hats, etc.) that I will need to keep under control.  However, I really need to see all my jewelry if I ever want to wear it.  Otherwise, I end-up wearing the same thing over and over and over.  The problem is that I don't want the clutter/chaos of all the costume jewelry, scarves, etc. hanging on the wall. So instead, I am adding a narrow accessory cabinet to the closet that will have have mirrored doors. This way I can kill two birds with one stone: (1) contained accessories storage; and (2) a full length mirror to see what I look like.  Here is a picture of what I have in mind for the accessory storage cabinets:

I love how there is plenty of room for necklaces, earrings and bracelets as well as how they will all be very easy to see at once.  I plan to have two of these cabinets next to each other that will each be 24" wide and 5" deep.  One cabinet will hold my costume jewelry and one will hold my other accessories (scarves, gloves, hats, etc).  So there you have it, that is my "Master Plan for my Master Closet."  I cannot wait to see it come together!  Please feel free to share any ideas have you guys use to keep your closets clean and organized in the comments. I hope you have a wonderful Monday and thanks for stopping by!!!


Friday, February 8, 2013

Craft Room/Wrapping Closet Layout

Happy Friday everyone! I hope that you had a great week and have a fun weekend in store. We have a crazy one ahead of us with lots of Mardis Gras festivities. It will be busy, but a lot of fun! And I have to say, I am still super excited about getting the drywall up at the house and our doors.  Can't think of a better way to kick-off the weekend than that!

So a few weeks ago I told y'all about the unplanned closet that Matt and I got upstairs because of some A/C reworking.  And I don't know about you, but to me, getting an extra closet is like finding a pot of gold!  As I mentioned, my first thought was to create a craft room/wrapping closet to wrangle all of my crafting and wrapping goodies.  Well, unfortunately my super master plan all came to a screeching halt when Matt said that he thinks that we will need the extra closet to store random stuff that won't go anywhere else in the house. So that means, the only way I am going to get my craft room/wrapping closet is to get rid of some serious stuff around the casa.  For those of you who don't know me, I have a tendency to hoard keep random stuff around and never throw anything away...and it drives Matt crazy.  To actually get rid of enough stuff to be able to have an entire closet empty, is going to be a serious challenge for me!  But I want that wrapping closet, so somehow, someway, I am going to make this happen.  And to that I have to say "Well played Mattey, well played." 
 
So now onto the layout. The closet is a small walk-in and is 5 feet wide by 4 feet deep. Since it is a little small, I want to put all the storage on the back wall of the closet.  Here are a couple of my original inspiration pictures:


Aren't those spaces absolutely fabulous?!?!?!?! They make me smile every time I see them with all the bright colors and pretty cabinets.  Those rooms are obviously much larger than the space that I have; however, they give a great starting point to get the creative juices flowing.  I absolutely love the wrapping paper/ribbon holders in those photos.  And I think the baskets are a great way to add in some texture.  I also like the idea of having lots of drawers to store tissue paper, boxes, tags, scissors, etc. on the bottom of the closet. As I mentioned before, I think that Martha Stewart's flat filing cabinet will do just the trick. Here is what she looks like:
 
Once I figured out the basic elements that I want in the closet, I busted out my handy dandy graph paper and came up with this layout:


As you can see, I took the ideas from those absolutely fabulous inspiration rooms and tried to make them fit my space.  In the middle of the closet, I will put the Martha Stewart flat filing cabinet.  I have about six inches on either side of the cabinet, so thought this would be a great space to add some tiny shelves to store seasonal wrapping paper that I can display up top when its the right time of the year.  Above the flat filing cabinet, I plan to add a some dowels so that I can hang all of my ribbon.  The Martha Stewart flat filing cabinet is pretty deep, so I should still have plenty of room on top for a good work space.  Above the ribbon, I plan on putting some more dowels for my wrapping paper.  On either side of the wrapping paper, I will have open shelves where I can add some pretty baskets for all of my crafting goodies.  I also want to add a fold-out table on the closet door so that I can have an extra worktop for wrapping large presents.  This is what I have in mind:
 
Here
I found this sweet one online that looks fun and has additional storage behind the table:
 
Here
 
However, the whole contraption will have to be fairly light since it will hang on the door instead of a wall.  So I think that we will probably have to build it ourselves, which should be fun!  So that is all for now.  I hope you have a great weekend and thanks for stopping by!!!


Thursday, February 7, 2013

Houston We Have Drywall (& a LaCantina Door)!


Hello everyone!  I hope that you have all been fantastic over the past few weeks.  Sorry about being awol for so long, but Matt and I were in Florence for a week for his work's annual meeting and then I have been going 150% at my job since getting back with a big project that has a tight deadline.  However, I had to share with you the exciting progress happening at the house.  The two biggest things are that we now have drywall and exterior doors! Holla!!!!  So let's take a tour of the casa to see how she looks with walls and doors shall we?
 
First I have to show you the super cool La Cantina door that we added that I first talked about here.  This door separates the living room from the back of the house and looks like a wall of french doors.


However, with the flick of a few locks and tiny bit of pushing....the doors completely fold-up to bring the outside in. Can I getta "TAH-DAD"?!?!?!


I am here to tell you that these bad boys are AWESOME!!! I love them because they literally double the size of the our living room when they are open. We are going to have some serious entertaining happening with these guys during the 8 months out of the year that we have good weather in Houston.  Here is a video of them in action. My commentary does not do justice my super cool happy dance that was happening behind the camera.


So now that you have seen the doors in action, I want to take you on a tour of the house with drywall.  Here is the floor plan of the downstairs, so that you can see the placement of the rooms.


Here is the view into the living room from the back patio.  The wine room is on the right under the stairs, the dining room is on the left of the door, and the entrance to the kitchen is in the left corner of the picture.


This is a view standing with my back to the wine room and looking towards the backyard.  Please excuse the disastrous landscaping (or complete lack there of) because all that will be addressed once we get finished with the remodel.
 

This picture is taken from the middle of the living room so that you can see the dining room.  It is crazy how much bigger everything looks in person once dry wall is up!  I guess it is difficult to judge the size of a room when you only have the studs.  You can also see our front door.  It is all wrapped up for safe keeping...but when the plastic is gone, it is beautiful.  As you can see, it is a similar style to a lot of the door I liked here. I love all the natural light that the windows and sidelights bring into the house.  And it will be even brighter once the protective film is removed from the windows.  Oh I can't wait!!!
 

This next picture shows our master bedroom.  It was a little difficult to photograph with my Canon Elf, but at least you can get a general idea of the room's shape.


Now onto the master bathroom (A.K.A. Jenn's happy place).  This is a view into the master bath from the master bedroom.  Here you can see the closet is in the back and the walk-in shower on the right. The tub will live to the right of the shower and our vanities will live on the left wall opposite of the shower.
 

This is a picture of the inside of the master closet.  You can't tell much from the photo, but it is 13' long by 10' wide.  I will show you my master plan for the master closet in a later post.


Here is another view of the back wall of the master bathroom. As you can see, the shower will be on the left side of the wall and the claw foot tub will be on the right under the window. We have his and her shower heads and body sprays, along with a rain shower overhead.  Matt gave me so much flack about having a "his-and-her" shower...but I think he will love it once it is all said and done.


Here is a close-up of the shower layout.  Oh boy, oh boy, oh boy!!!  This makes me giddy like a school girl!


This is a close-up of the wine room under the stairs.  We are going to have wine shelves in the recessed space on the right and on the back wall. I will show all the details in a later post.


Now we are going to head upstairs.  Here is the floor plan for the second floor so that you can get your bearings.
 

The first thing you see when you head up the stairs is the study.  We will have built-in cabinets and a desk along the back wall.


Next we head into the revised game room.  It's amazing how far it has come since we blew out the front wall.  This is a view from the back corner of the room looking towards the study, which you can see through the door.


Here is another view of the game room from the front side of the house.  We are going to add a built-in bar in the nook on the left.  And through the door, you can see the entrance to the laundry room.  I showed you some of my ideas for the laundry room here.


This is a view of the hallway leading to the back of the house.  To my left is the study and to my right are the stairs, game room and laundry room.  As you walk down the hall, the first door on the left is the entrance to the guest bathroom, the first door on the right is my wrapping room (which is not labeled in this picture), the second door on the right is Bedroom 3 (A.K.A. the "Blue Room"), and the final door in the middle is the entrance to the new bedroom above our master (Bedroom 4).


Here is a picture of Bedroom 4. It is directly above our master bedroom, so is basically identical.
 
 
When you turn around and leave Bedroom 4, you are back in the hall heading towards the study and Bedroom 2 (A.K.A. the "Teepee Room"). As you head down the hall, the first door to my left is the entrance to the Blue Room (which you can't see in this photo) and the second door to the left is my wrapping closet.  I talked about my initial plans for the layout of the wrapping closet here and here.  The first door on the right is the guest bathroom, followed by the study and the Teepee Room.
 
 
Here is a pitiful little picture of part of the guest bathroom. We will have two vanities on either side of the window and to the right are the shower and toilette. I need to invest in a super wide lens so that I can get better pictures for everyone!
 
 
After you exit the guest bathroom and enter the study facing the Teepee Room, this is the view you will see.  To my left are the stairs and to my right is the study.  Directly in front of me is the entrance to the Teepee Room.  Two closets flank the entry into the Teepee Room.


Here is what the Teepee Room loooks like on the inside.  It is a long (23') and narrow (11') room with an arched roof.  This will likely become our kiddo's game room with all sorts of fun murals.  It just feels like a place you want to play when you go in.  I also added built-in storage into the eaves...cause hey, if there is a possible open space, I will use it!  Our builder makes so much fun of me for that - but trust me, we will love all the additional storage at some point down the road, I just know it!  We will have doors on the front of the opening that will look like wainscoting so they won't be so obtrusive. 


So that finishes up the tour of the casa with dry wall.  Also, thank you so much for stopping by, I hope that you liked seeing the progress!  Have a wonderful day!!!
post signature

LinkWithin

Related Posts Plugin for WordPress, Blogger...