Showing posts with label Carrara Marble. Show all posts

Wednesday, January 15, 2014

Vintage Bathroom Makeover {Part 4}


Happy hump day everyone! I hope that you are having a fantastic day so far. Things are fab here! I survived the "Great Disaster Room Cleanout of 2014" and will show you the updates this week. It is amazing what 14 hours of hard labor can do for a massive mess! So that is one step closer to being really moved into the house...and I am so excited! I wanted to stop by today to show you where we are with the guest bathroom. Last time we checked-in, I showed you the floors, wainscoting and subway tile shower surround. So today, I wanted to show you the latest version since all of the "hardscape" is in and we are now just left with accessorizing. Happy days!!! As a reminder, here is the upstairs floor plan before we started the renovation and the guest bathroom is highlighted in yellow: 
 
As I have previously mentioned, one of the main reasons for our renovation was to update and enlarge our tiny bathrooms. Although the bathrooms had a fun vintage look, it was not the look we were going for. Here is what the vanity area looked like before the renovation:
 
 
And here is what the shower/toilet area looked like:
 
 
So as you can see, super dark and super tiny!!! In order to make it so that two people could get ready at the same time, we decided to make a separate vanity area and a separate shower/toilette area. Here is the floor plan for the remodeled second floor and the new bathroom is highlighted in yellow:
 
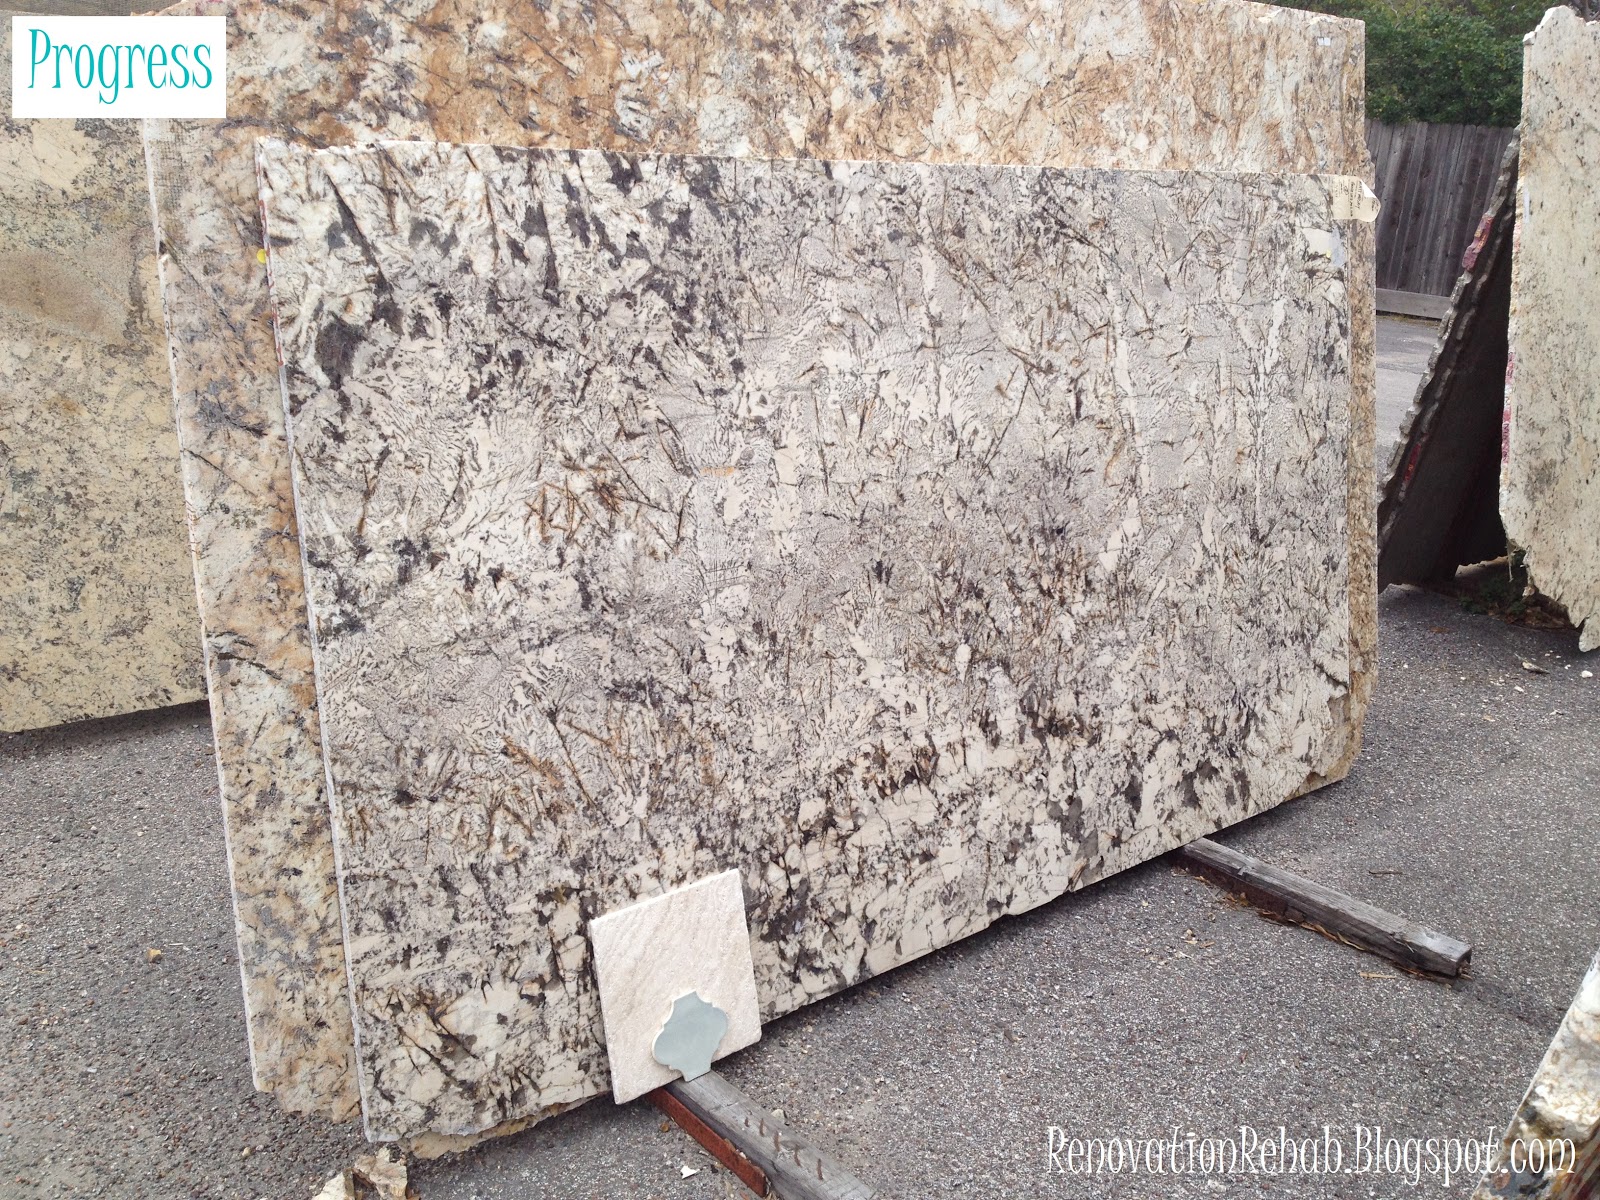
As I previously mentioned, we were going for a 1920's vintage feel with carrara marble, white subway tiles, and dark cabinets. This is the original mood board that I made for the bathroom:
 
 
And here is how she turned out! This is a view looking into the vanity area from the shower/toilet room:
 
 
We have a double vanity on the right side of the room. And on the left side, we have two floor to ceiling linen cabinets. This is a fairly tight space, but between the vanity and the two linen cabinets, we have a TON of storage!!! We also added the white wainscoting to give the room a tailored look and chose a cool grey to play off of the carrara marble counter tops.  One of my favorite features of the bathroom though is the basket weave tile "floor mat" that we added in the vanity area:


I absolutely LOVE the way that it turned out!!! To me, the floor gives a super retro vibe and is a fun surprise. And please excuse the quality of the following picture, but here is what the bathroom looks like when you enter from the hallway.


You can't tell from that picture (because I was using my IPone), but there is about an 8" space between each side of the vanity and the wall...so the vanity actually looks like a piece of furniture as opposed to a built-in cabinet. Now moving onto the shower/toilet room.  In the shower I chose white subway tile for the shower surround, a large goose neck shower head (because there are many 6'4"+ men in my family that will visit), and a hand shower that I can use to more easily bath children (once they join the picture):


In the middle of the shower, to break up some of monotony of the subway tiles, I added a framed herringbone feature. 


 I am so excited with the way it turned out! I think it is super elegant with a splash of fun. And on the back side of the shower we added a train rack to hang robes and store towels for our guests:
 
 
The train rack is so pretty!!! It makes me not want to hang a shower curtain so that I can see it all the time.  And as you can see from the picture above, I also added a little bench at the end of the tub. I thought this would be a great place to sit when bathing kiddos and also will be a nice place for them to store their bath toys. So there you have it folks! I still have a ton to do with all the accessorizing, but have made huge progress! And speaking of progress, lets check out a couple before and afters shall we?!?!?!


And one more of the shower area! So much better!!!!


 Thanks for stopping by and have a wonderful day!!!
 

Monday, July 22, 2013

Vintage Bathroom Remodel - Part 3


Happy Monday everyone! I hope that you had a wonderful and relaxing weekend. Things were busy here in Houston, but very productive at the house. As I mentioned last week, not only is painting in in full swing at the casa, but the tile in the upstairs guest bathroom is finally being installed and I am super excited to show you how it is turning out! Back in May, I introduced you to our oh-so-loverly guest bathroom and gave you the low down on my plans to give our tiny little "Ode-to-1960's-Wallpaper-and-Tile" guest bath a cool vintage makeover and bring her into the 21st century via the 1920's.  I also showed you the newly installed cabinets in my Vintage Bathroom Remodel - Part 2 post here. But, just to jog your memory, here is the layout of the original bathroom below highlighted in yellow:
 

As you can see, it was a small three piece bath with a single sink, a toilet and a five foot tub.  And here are some shots of the bathroom in all her 1960's wallpaper and tile glory:
 

The first picture shows the view into the bathroom from the hallway.  And this next picture is a view of the toilet and tub (with my back towards the vanity):
 

Although the bathroom had a fun 1960's vintage feel...it was the wrong era for my vision and just too small.  In order to allow two people to get ready in the bathroom at the same time, we decided to expand the bathroom so that we would have a vanity room and a separate shower room. The floor plan below shows the new bathroom highlighted in yellow (with a pocket door that can separate the shower room from the vanity room).
 

After resolving the space and layout issue, my next task was to create a mood board so that I could see how all the different design elements worked together. This is my original mood board that I created for our "vintage guest bathroom (circa 1920) with a hint of modern flare":
 
 
One of the major design elements that I wanted to incorporate into the vanity room was a "tile floor mat" using a combination of basket weave carrara marble tiles and 12"x12" carrara marble tiles.  The "tile floor mat" in this picture was my original inspiration for the space:
 
 
However, in order to work for our guest bathroom, I had to modify the design of the "tile floor mat" from a rectangle to a large "T" shape. This drawing shows the placement of the vanity and linen cabinets as well as the layout of the "tile floor mat" in the vanity section of the guest bathroom:
 
 
And here is how the floor looks installed:


I am so excited how it turned out and absolutely LOVE, LOVE, LOVE it!!! It is exactly what I envisioned and feels so crisp and clean! Here is another view where you can see how the floor works with the vanity, linen cabinet and wainscoting:
 
 
Happy days, happy days, happy days!!! The shower room section of the guest bathroom was too small for a similar floor mat; so we decided to carry the 12"x12" carrara marble tiles throughout that space. You can see the shower room highlighted in yellow below:
 

To keep with the vintage feel in the shower room, I chose white subway tiles for the shower surround.  However, with the white carrara marble floors and white subway tiles, I was afraid that the space might end-up looking a bit too institutional with all the square lines. So, to break things up, I added a herringbone feature to the back wall of the shower surround, which is illustrated in the drawing below:

 
I also made sure that the herringbone feature was centered on the pocket door between the vanity room and the shower room so that our guests would see it regardless of which part of the bathroom they were in.  This is what she looks like installed (and please note that the herringbone feature is centered on the door, I was just standing at the wrong angle when I took the picture):
 

Again, I am LOVE with how it turned out!!! The white subway tiles are so bright and cheery and the herringbone feature adds just enough interest and spice keep the space from being boring! Here is a close-up of the herringbone feature.  J'adore!!!
 

I am so giddy-like-a-school-girl with how everything is coming together!!! It totally makes all the heart-ache and stress of this year-long remodel fade into the background when I get to see my visions come to life!  Here's to hoping that I am going to be as in love with the rest of the remodel as things continue to progress!!! I hope that you are enjoying the progress and updates as much as I am. But before we go, let's have one more look at the the before and after (well, progress) pictures!


SO much better!!! Thank you so much for stopping by and have a wonderful week!
 
UPDATE: CLICK HERE TO SEE AN THE FINAL BATHROOM!


Monday, May 6, 2013

Shopping for Granite and Carrara Marble

This weekend Matt and I did some of shopping and selected our granite and carrara marble slabs for the Guest Bath, the Master Bath, the Game Room Bar and the Living Room Built-In next to the fire place.  All of the cabinets for these rooms are stained a dark java color.  Here are a few of the cabinets for our Master Bathroom vanity post-delivery but pre-installation. 

 
All of the cabinets in our house are from Starmark Cabinetry that we ordered from a store called Factory Builders Store in Houston.  This is the same brand of cabinets that we used in our kitchen and absolutely adore the quality, finish, and detail that these cabinets provide.  (Oh and P.S., I have not been paid by either of these stores, but if anyone that works there is interested, please don't hesitate to contact me :-) ).  In the Master Bath, Living Room, and Game Room, we are going for more of a rustic look, so we chose the Rustic Cherry wood for the cabinets.  Rustic Cherry wood is different than plain Cherry wood because it shows natural holes and wear in the wood. 


Here


This is the same finish that we used for our kitchen cabinets.  However, we chose the Java stain for the Master Bath, Game Room and Living Room built-in, which is a bit darker than the sample cabinet above.  Java is effectively a super dark brown stain that looks nearly black, but still gives you the richness and warmth of a deep brown cabinet.  Also, it allows you to see the wood grain, which we would loose if we painted the cabinets black.


Here


Here is a closer look at our Master Bath vanity cabinets.


Since we are going for more of "elegant-rustic" look in the Master Bathroom, Living Room and Game Room, we were hunting for a creamy piece of granite with some dark accents throughout.  We found first found this piece of Delicatus Granite that we feel in love with.


The two pieces of tile in front are samples of the travertine tile and accent tile that we are using in the Master Bathroom.  The colors don't match that well in this picture, but in person they are spot on.  Unfortunately, however, this slab is only big enough for our Master Bath Vanity (it's 10 foot long).  They had another piece, but we didn't like it as much.  Although that was a bit frustrating at first, we quickly realized that we were excited about the idea of having different styles of granite throughout the house.  So we decided to keep hunting to see if we could find something similar but different.  After a bit of searching, we found this slab of Genesis Granite, which has the creams and brown tones that we need to match the built-in cabinets in the Living Room and Game Room, but is distinctly different than Master Bathroom slab. 


However, what makes this slab extra perfect is that it has some tiny specs of Maroon throughout...and for my die-hard Aggie husband, that was all he needed to be sold on the piece.  Next on our list was the Carrara Marble for the Guest Bathroom. We are going for an classic late 1900's early 20th century look for this room.  Here is my inspiration board that I showed y'all when I first revealed the Guest Bathroom plans.

 
As you can see, this bathroom is all about Carrara Marble.  We are going to use it on top of the cabinets and on the floor tile.  After wander through the warehouse, I quickly realized that all Carrara Marble is not created equal and the texture and color of the gray veining throughout the slabs can vary greatly.  It took some searching, however, we were eventually able to find a piece that matched our Bianco Carrara Marble floor tiles perfectly.


The slab was absolutely HUMONGOUS though!  As such, we only need about half of the slab for the guest bathroom vanity.  Since the granite store makes you buy the whole slab, however, we decided that we would use the remaining portion of the slab in the Laundry Room.  As I mentioned last week, I know its kinda crazy to use Carrara Marble in the laundry room...but since we would otherwise loose the remainder of this beautiful slab, we decided to throw caution to the wind and put it in the laundry room.  We are going to try and be careful with it, but I am just going to embrace the scratches or dings that will inevitably show up over time.  But hey, it will mean that it has been well loved and used. Well, that is all for our granite and carrara marble shopping trip.  I hope that you enjoyed it!  Thanks for stopping by and I hope that you have a great Monday!


LinkWithin

Related Posts Plugin for WordPress, Blogger...